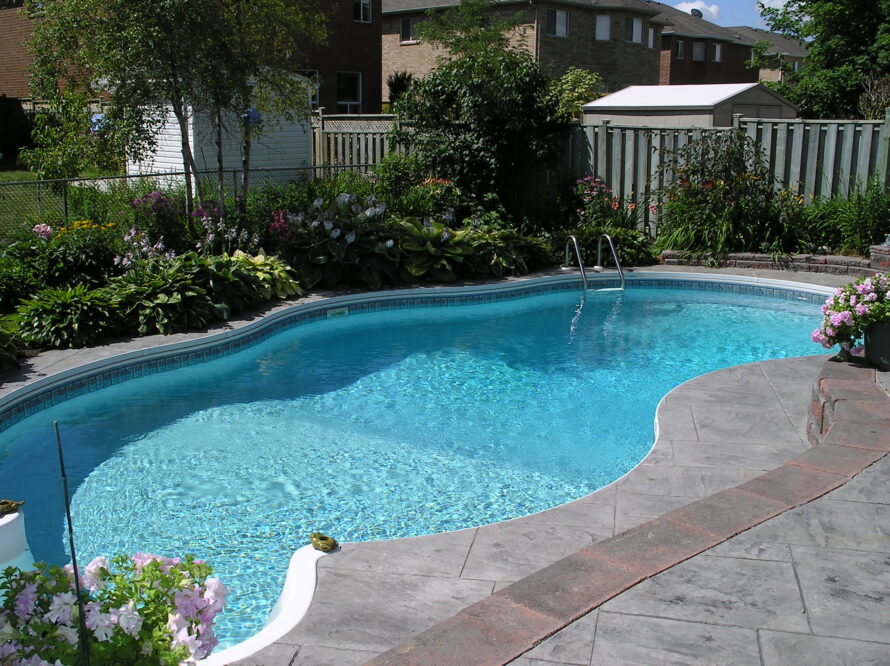
The majority of people who own a pool will only think to use their chlorine when they notice a problem, but by the time an issue is visible, it’s often been developing for days. Backyard pool care isn’t complex, but it’s one of those things that the more you keep on top of it, the easier it becomes, and the less effort you need to put in overall.
Contents
Step 1: Set A Circulation Schedule And Stick To It
Water that is stagnant becomes a breeding ground for germs. Pool water circulation ensures that a disinfectant reaches all parts of the pool, so you need to run the pump long enough to turn your pool’s water over at least once and preferably twice a day. In the summer, that usually means a pump should run approximately 8 to 12 hours a day.
Variable speed pumps help you achieve this without a huge energy bill because they can run at a lower speed for an extended period while still moving the same amount of water. Ensure that your pool is designed so that steps, ladders, and return jet angles have good water circulation. These are usually the first areas where algae begins to grow.
Step 2: Test Twice Before You Treat Once
One of the biggest mistakes people make with their pool or spa water is going with their gut instead of the test kit, then trying to force a change too soon because they overdid it the first time. This gets expensive and can be tough on swimmers.
Test your water chemistry before adding anything, wait an appropriate amount of time based on the label directions, then test again. If something needs a second dose, wait the recommended time before testing again. The number you’re protecting is pH – chlorine loses almost half its effectiveness with each point increase above 7.2. If your pH climbs to 7.8, it doesn’t matter if you double the chlorine dose. Not enough of it will stay active to matter. For homeowners who want reliable results without the guesswork, pool cleaning perth professionals bring local knowledge that makes standard product dosing far more effective.
The other factors aren’t just for fun. Alkalinity actually helps keep your pH from moving out of the safe zone between tests. Calcium protects your pool’s surfaces. Cyanuric Acid protects your chlorine from the sun. It’s like sunscreen for sanitizer and without it you’ll spend a lot more on chlorine.
Step 3: Brush What You Can’t See
Clean water doesn’t indicate that your pool walls are clean too. Biofilm, which is an organic film where algae and bacteria can attach themselves, develops on the walls of the pool before it becomes noticeable on the floor. Vacuuming the floor can remove the debris but it won’t dislodge biofilm on the walls of the pool.
To keep biofilm in check, brush your pool walls, floors, and steps at least once a week. It takes less than 10 minutes and will help prevent the kind of algae that can result in a several-day treatment and heavy chemical costs. Use a stainless-steel brush for concrete and a nylon brush for fibreglass or vinyl.
Step 4: Manage Shock Treatments At Night
One way to keep a pool looking great and crystal clear is to shock it. “Shocking” a pool means adding a high dose of Chlorine to the water to destroy chloramines and any other organic compounds that may have built up. Chloramines form when free chlorine combines with ammonia or organic compounds. It is not free chlorine, the active sanitizer that you need in your pool.
Ammonia, sweat, urine, and other contaminants brought into the pool by swimmers are some common sources of chloramines. The ideal free chlorine level needs to be at least 1.0-3.0 ppm. But to know the ideal range that you should shoot for, you’ll need to know the combined chlorine and the cyanuric acid level in your pool.
Step 5: Watch Your Water Level
This is perhaps the least obvious costly damage a pool can cause. But when the water level sinks below the skimmer mouth, whether due to evaporation, heavy use, or a splash-out weekend, the pump starts drawing in air instead of water. Air-locked or dry-running pumps can fail pretty quickly and replacing them isn’t easy on the wallet.
So go over to the pool and give the water level the old heave-ho once a week. If you’re already sticking the hose in there particularly often, and evaporation doesn’t seem to be enough of an explanation, you should probably track down a leak.
Step 6: Keep The Filter And Skimmer Basket Clean
Make sure to check your skimmer basket regularly. This is where most debris is caught. During the summer, you should empty it at least twice a week, and even more often if you have lots of trees or bushes near your pool. If the basket is dirty or broken, it won’t trap leaves, bugs, twigs, and other debris before they get to and block the pump. Then the filter has to carry the load and can get clogged.
With a clogged basket, less water can get through to the pump, so it has to work harder, and its efficiency is reduced, so it also cleans less water. The pump uses more electricity and costs you money.
Step 7: Know When To Bring In A Professional
Certain water issues necessitate professional expertise. For instance, where total dissolved solids are high, pH continually drifts, or mineral content is atypical, it may be necessary to perform a partial drain – and/or adopt a different chemical regimen than one would use during routine maintenance.
Homeowners uninterested in trial and error – and who simply want the best, most dependable water quality possible in their pool – may want to enlist the aid of experts. Professional services will, among other abilities, be well-versed in which local minerals and conditions may cause standard product dosing to be hit or miss.
A swim-ready pool doesn’t magically materialize as a result of everything having been done just right. Rather, it’s the result of having done nothing wrong – i.e., of not having given problems an opening in which to establish themselves. Build the routine, run the numbers, and the water takes care of itself.